These popular topics are heating up. Explore today's most viewed pages.
A bunting is traditionally fabric or paper flags strung together on a string or wire & hung. The flags can be decorated in any style or color scheme you want and you have endless variety when it comes to putting them together. For this craft, I have chosen to highlight the fall season and add a little extra touch of fun to our fall mantle decorations here at the nature center.
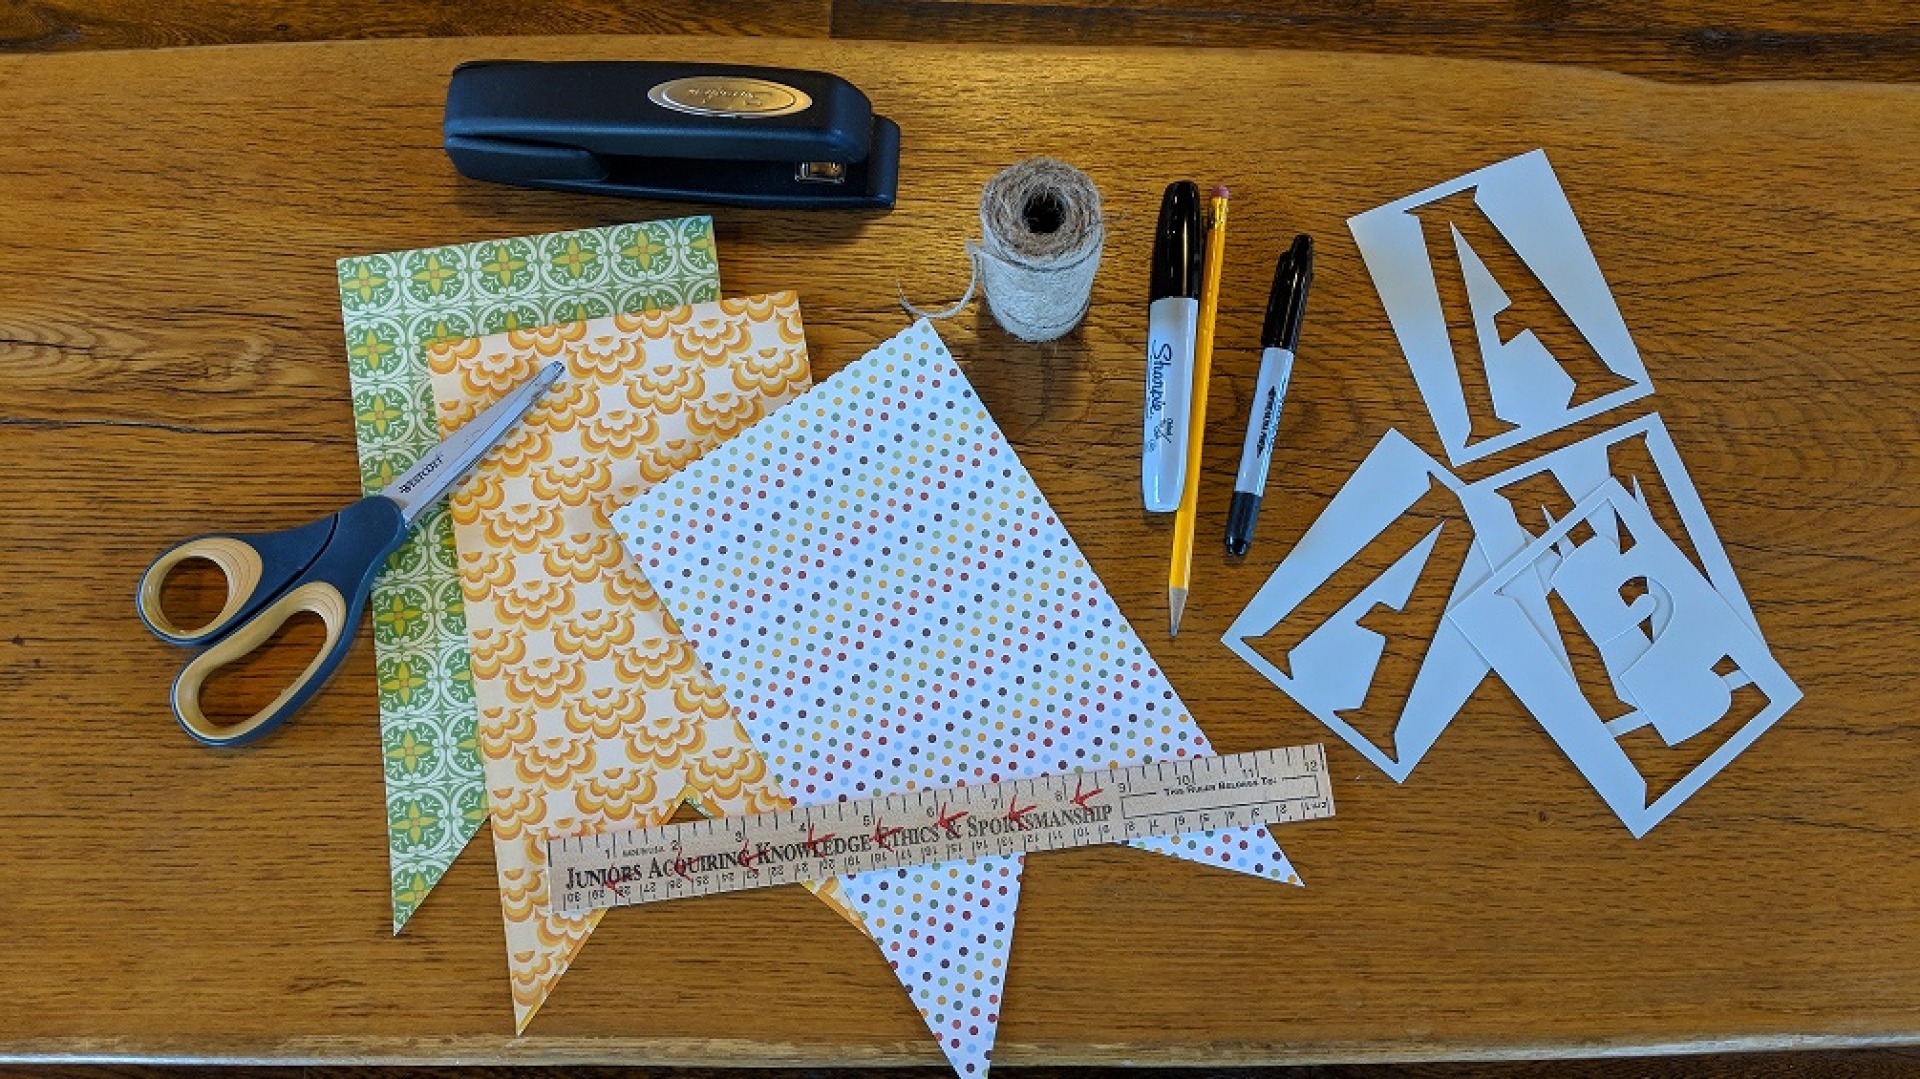
Scrapbook Paper - You can use all one design or experiment with complementary colors & patterns
Scissors, Ruler, & Pencil - To cut your paper flags into your desired shape
Sharpies or Markers - Pick a color that compliments your paper choice and shows up well
Letter Stencils - Or, if you are more talented than I am you can always free-hand your design
Twine or String - In a color that compliments your paper choice
Stapler or Glue - To attach your flags to the string, I prefer staples as they are faster but glue is less noticeable
If you google "Bunting Decorations" you will see a variety of flag shapes. From simple shapes to paper shaped like animals the options for your flags are endless. I opted for a simple, traditional flag shape for my fall bunting. My scrapbook paper was 12" x 12" so I cut it in half giving me two 6" x 12" strips. Then I measured up from the bottom 3" & marked the middle of the paper, making my hash-marks meet, this gives me the point of the triangle I am cutting out. Then, using my ruler again I draw a line from my hash-marks to the corner of the paper. Use your scissors and remove this triangle of paper.
*Bonus tip, once you cut out the first triangle from your first flag use it as a stencil to mark the rest of your flags. It saves you time & means you don't have to measure every single flag!
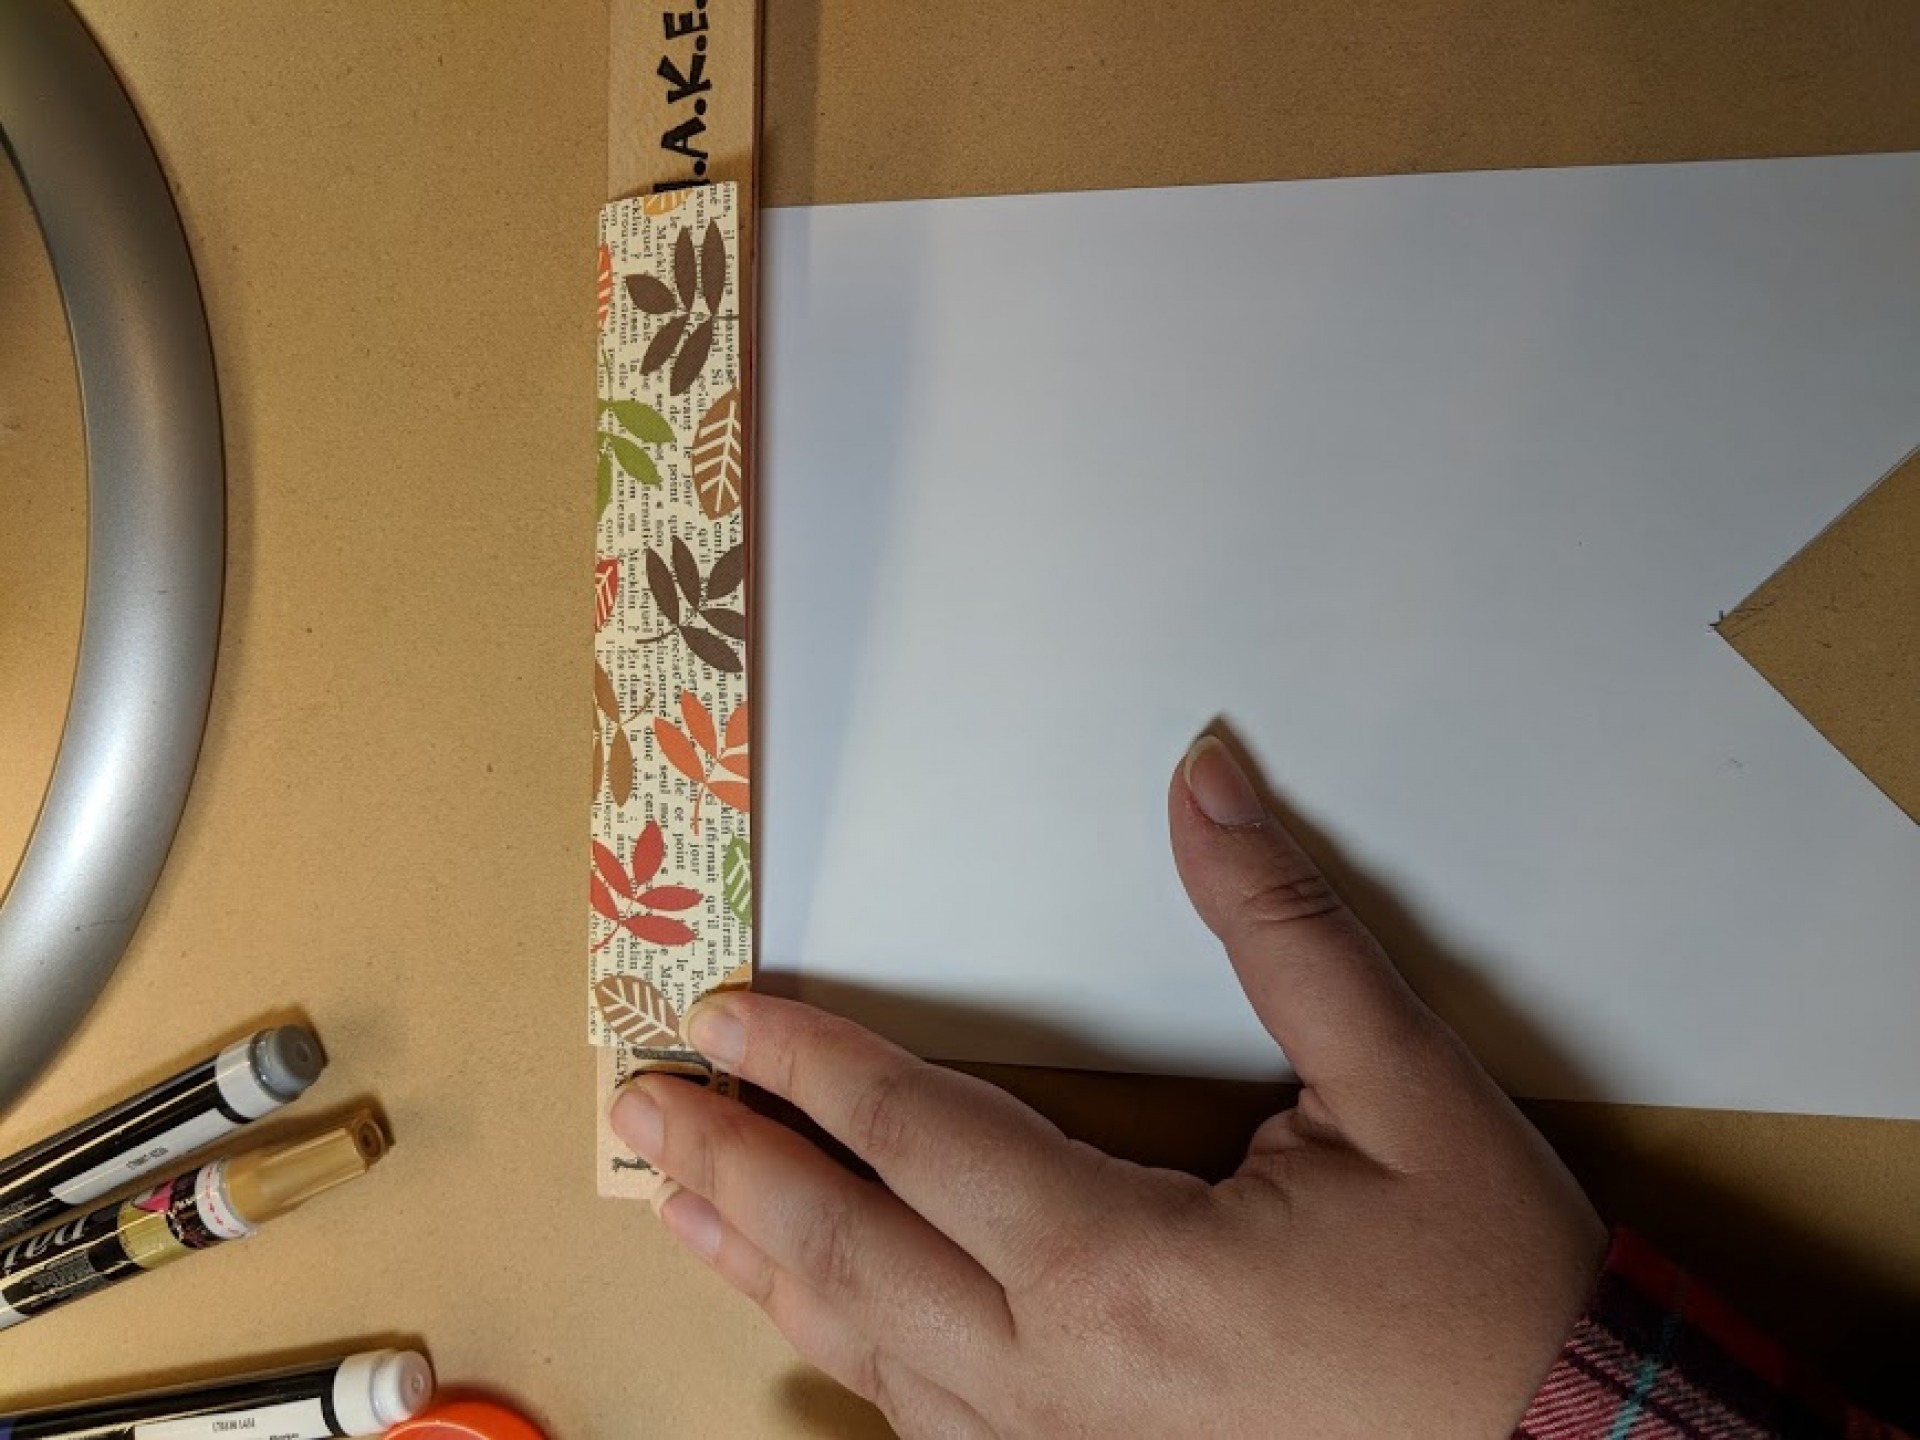
Your bunting flags will attach to the string at the top, the side you left flat, but to do that you need a quick fold. Use your ruler to fold your flag down a little over 1" from the top. The exact measurement doesn't matter as long as it is consistent for all of your flags, this will keep them the same length. You should fold down at least 1" to give you plenty of room to attach your flags.
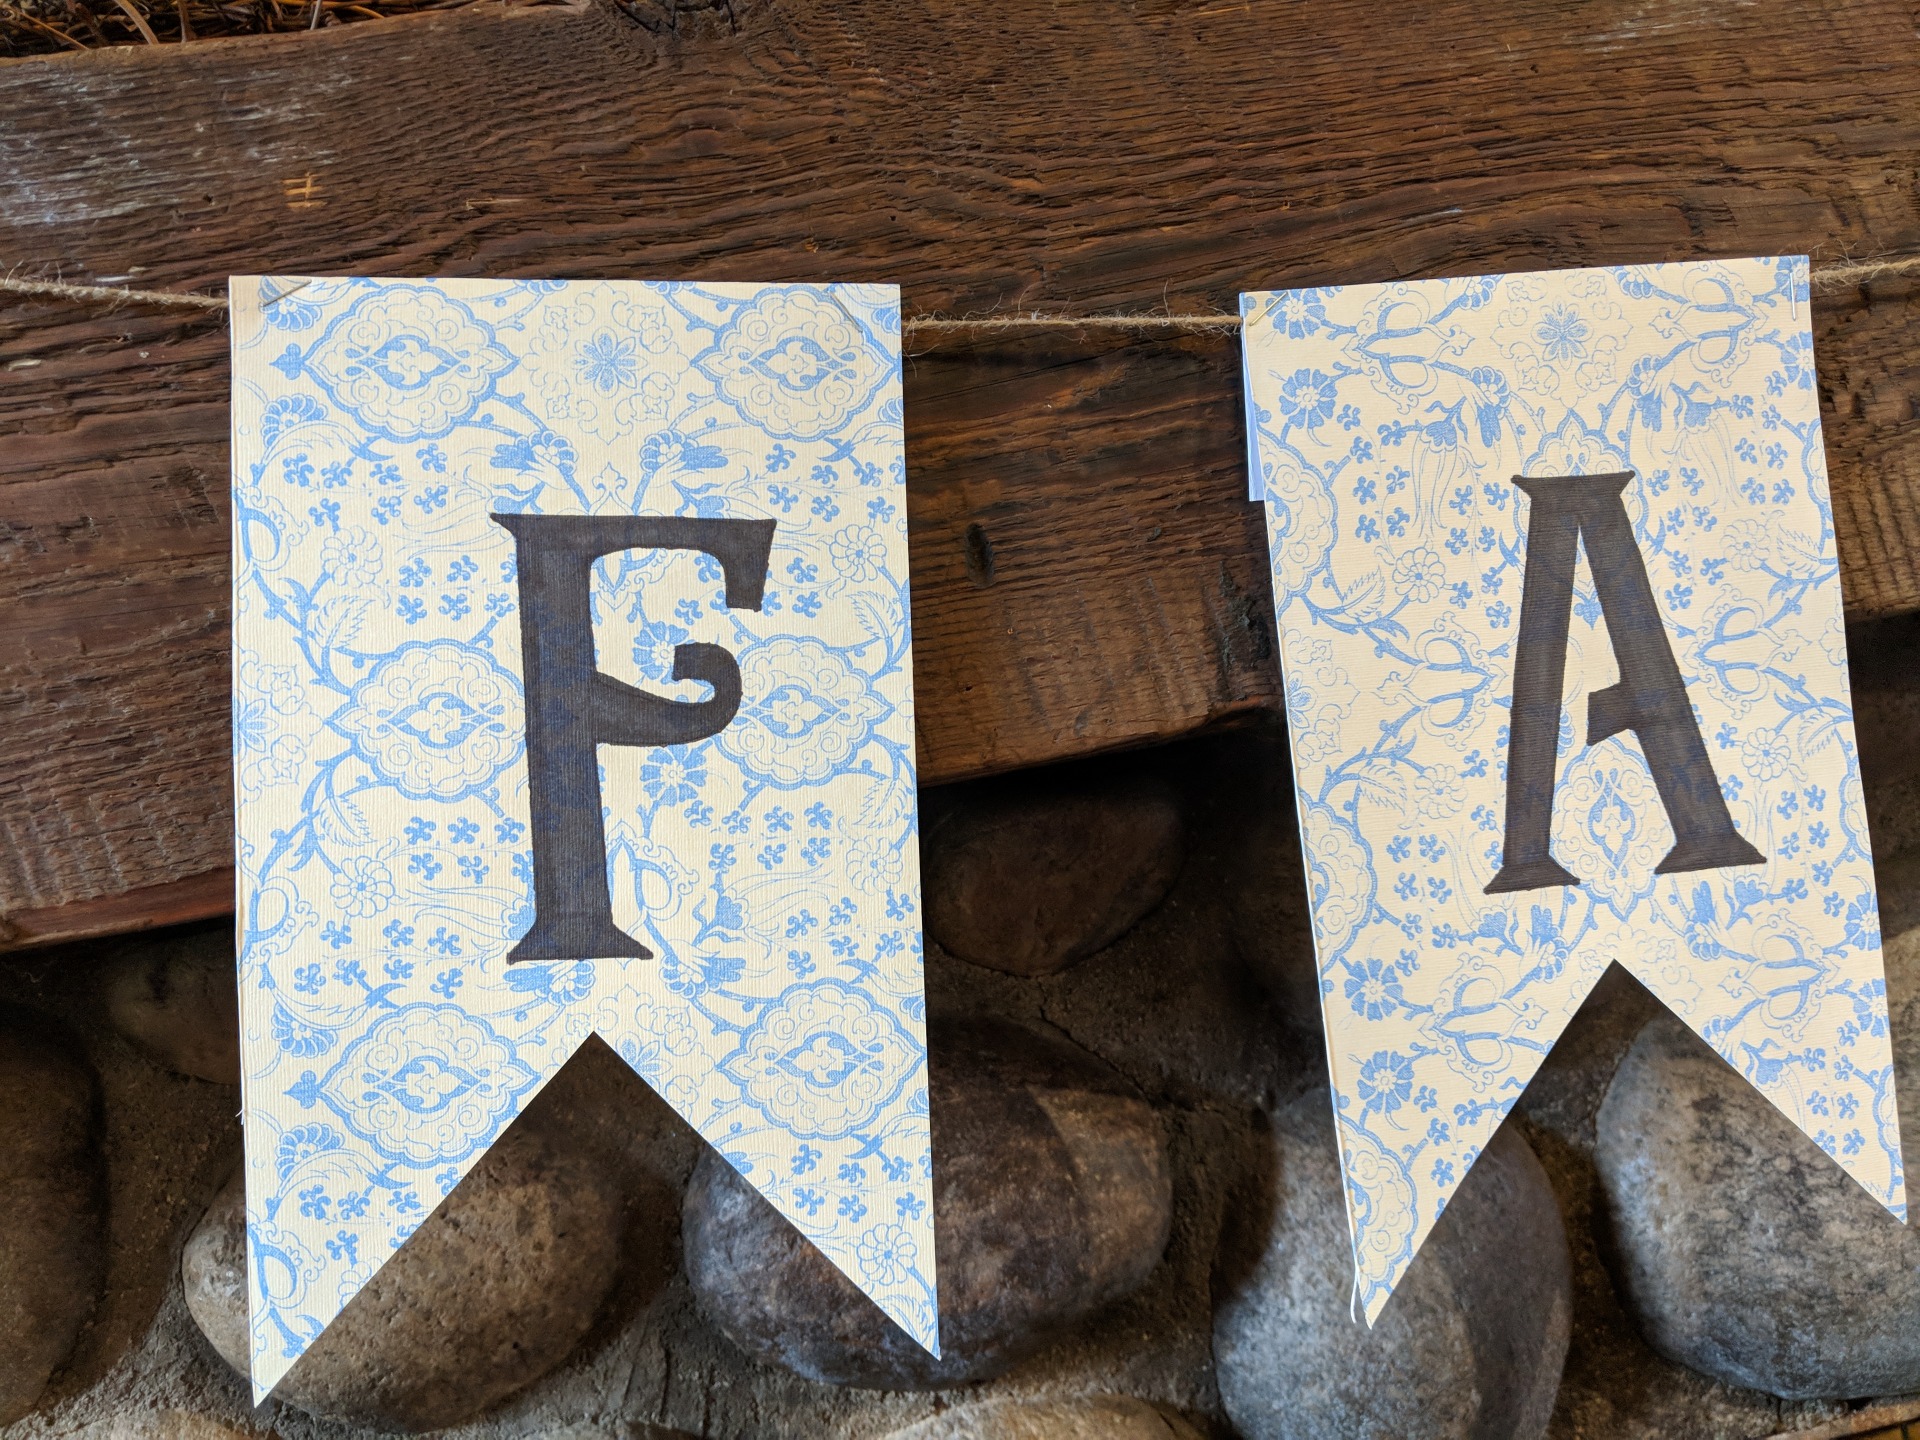
I decided to use letters to decorate my flags, you could use stickers, stamps, cutouts, leaves ... the sky is the limit! Unfortunately, penmanship is not one of my strengths so I opted for 4" letter stencils from a local craft store, feel free to do your own lettering if you have that skill. Stencils have come a long way since I was in 4-H, there were several fonts and sizes to choose from so if you are using stencils pick a font that you enjoy and a large enough size to fill your flag. The 4" letters were perfect for my 6" x 12" paper flags once the cut out from the bottom was removed and the top was folded down. Use a ruler if you want your letters perfectly straight or you can try placing them in a jumbled up crooked pattern. As my mom always says "If you can't make it straight make it crooked on purpose"!
I used a pencil to trace out my letters and a basic black Sharpie to fill them in. Use whatever color you think will look best but I always recommend using that little triangle you cut out of your flag to test your markers before using. Make sure the ink doesn't feather and that it shows up. Don't be afraid to use metallic markers or even try paint pens. Be prepared for a longer drying time with paint pens or acrylics.
The length of string you use will depend on the number of flags you will be using & where you plan to hang it. For my 4 letter sign, I went with a 5' length to give me plenty of room at both ends to hang it from our mantle. For a three letter sign to hang on my door I would go with a 2' length. You get the picture. Just remember, cut longer than you think you will need, you can always cut more off once you place your letters.
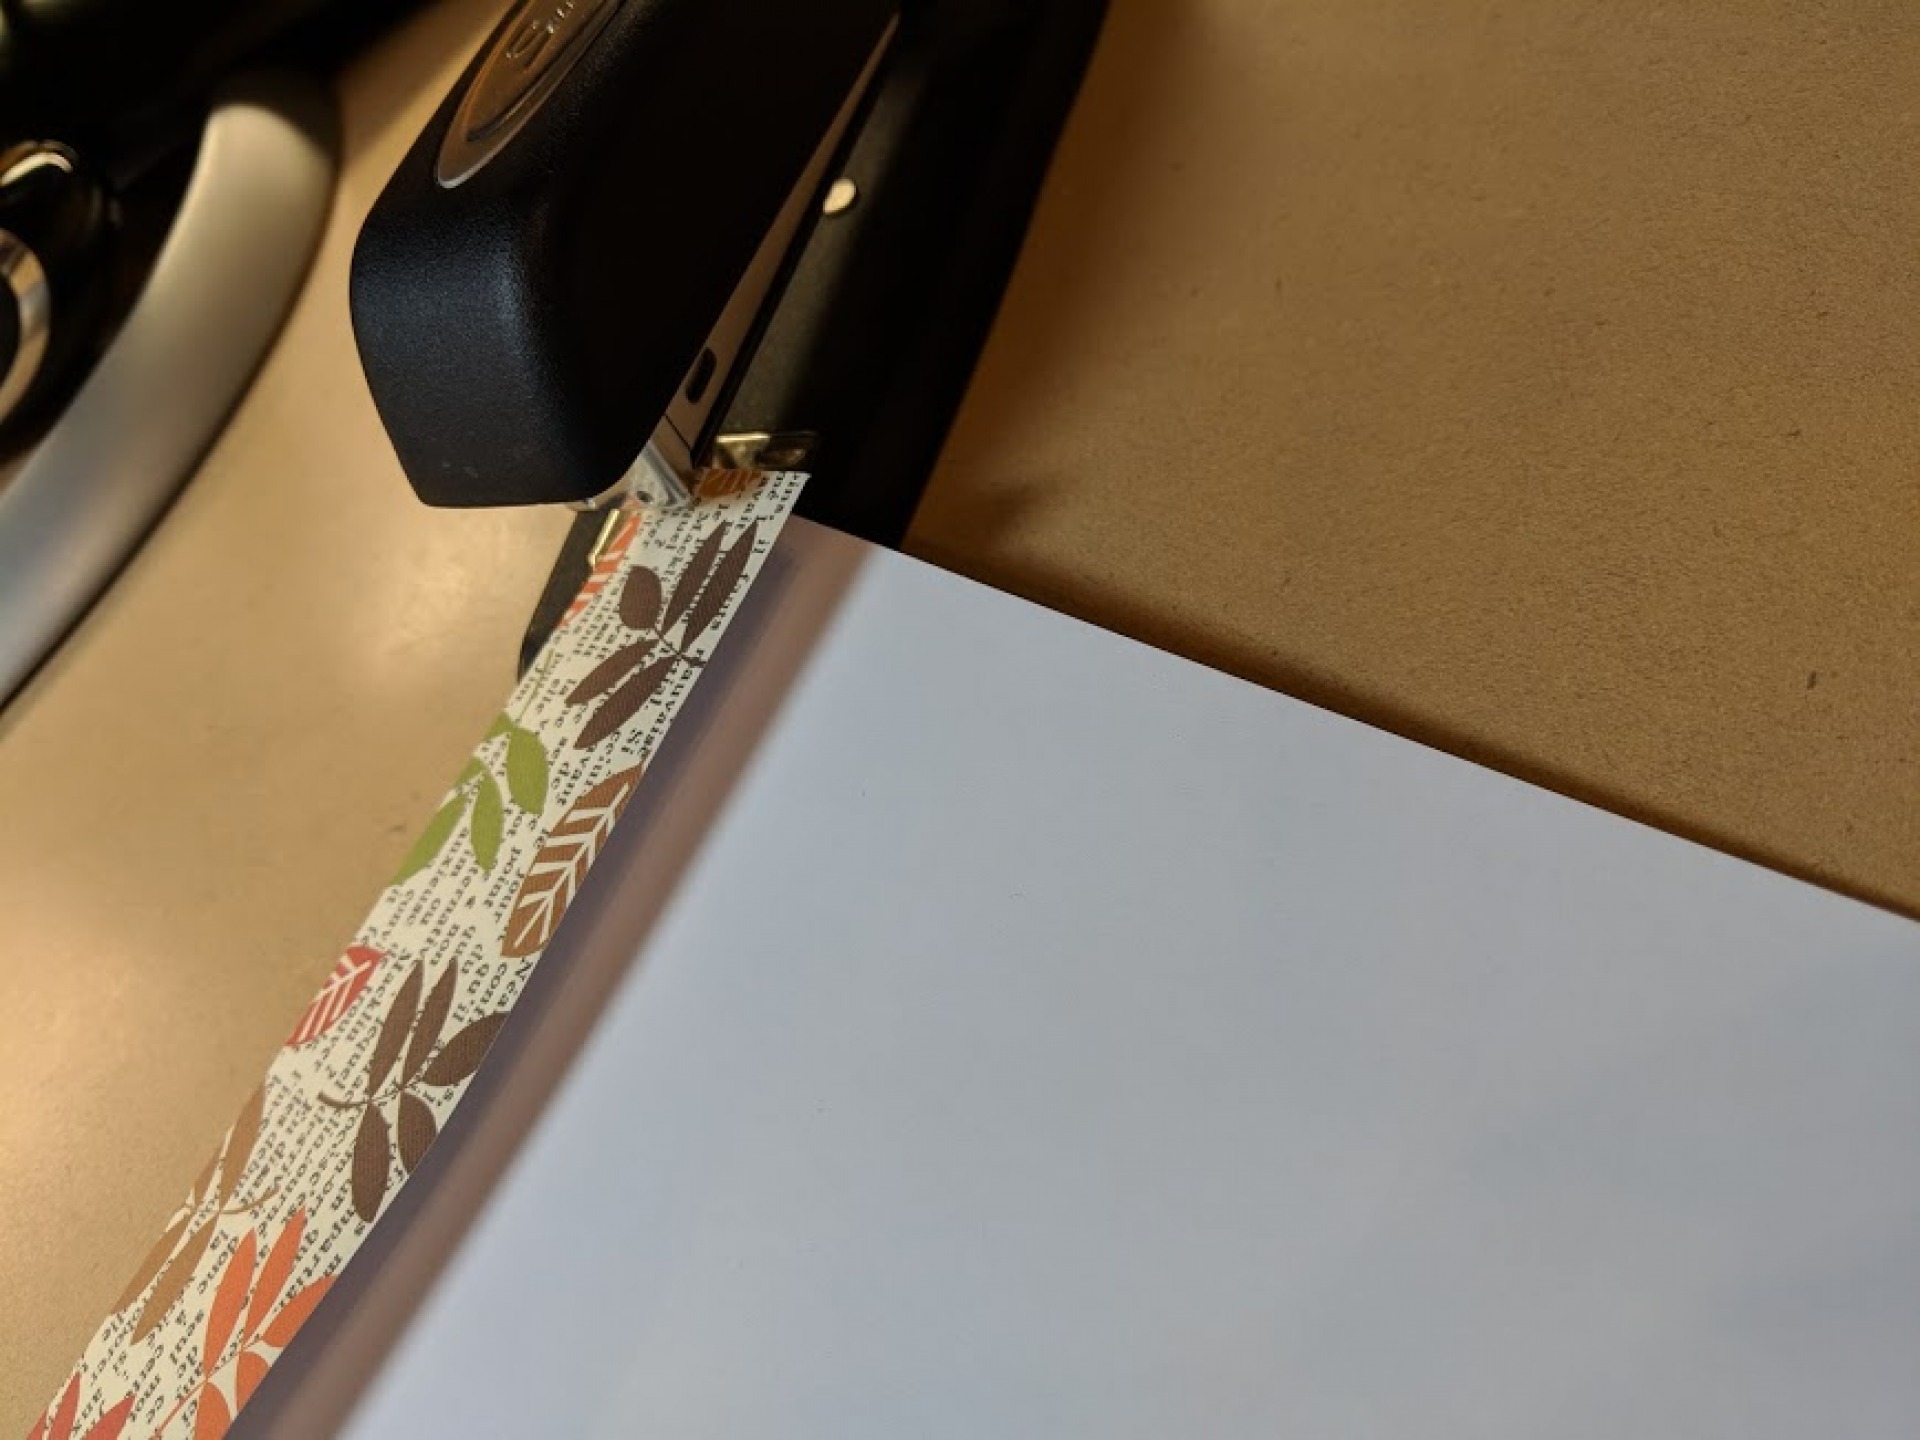
I had a 4 letter sign and I opted for 3" between flags. I found the middle of my twine and measured 1.5" out on either side and marked the twine lightly with a pencil. Those pencil marks told me where to place the edges of my middle two letters. Run your twine underneath the fold of your first flag & attach it in the manner of your choosing. I opted for staples because there is absolutely no drying time. Use the stapler to close the fold & make sure to catch the twin in your staple, this will keep your flag from moving around on the string once it's hung. Repeat, hanging your second middle flag according to your measurement line from the middle of your twine. Once you have hung your middle flags use your ruler to measure the distance to the next flag working outward from the middle until all flags are hung.
Others prefer glue dots, hot glue, or white school glue. Whatever method you use, make sure and secure the string to the paper to prevent your flags from wandering off and don't forget to let your glue dry before hanging your bunting.
Once you have hung all of your flags, allowing for drying time if applicable, your bunting is ready to hang. Tie a small loop at each end of your twine & hang in your desired location.
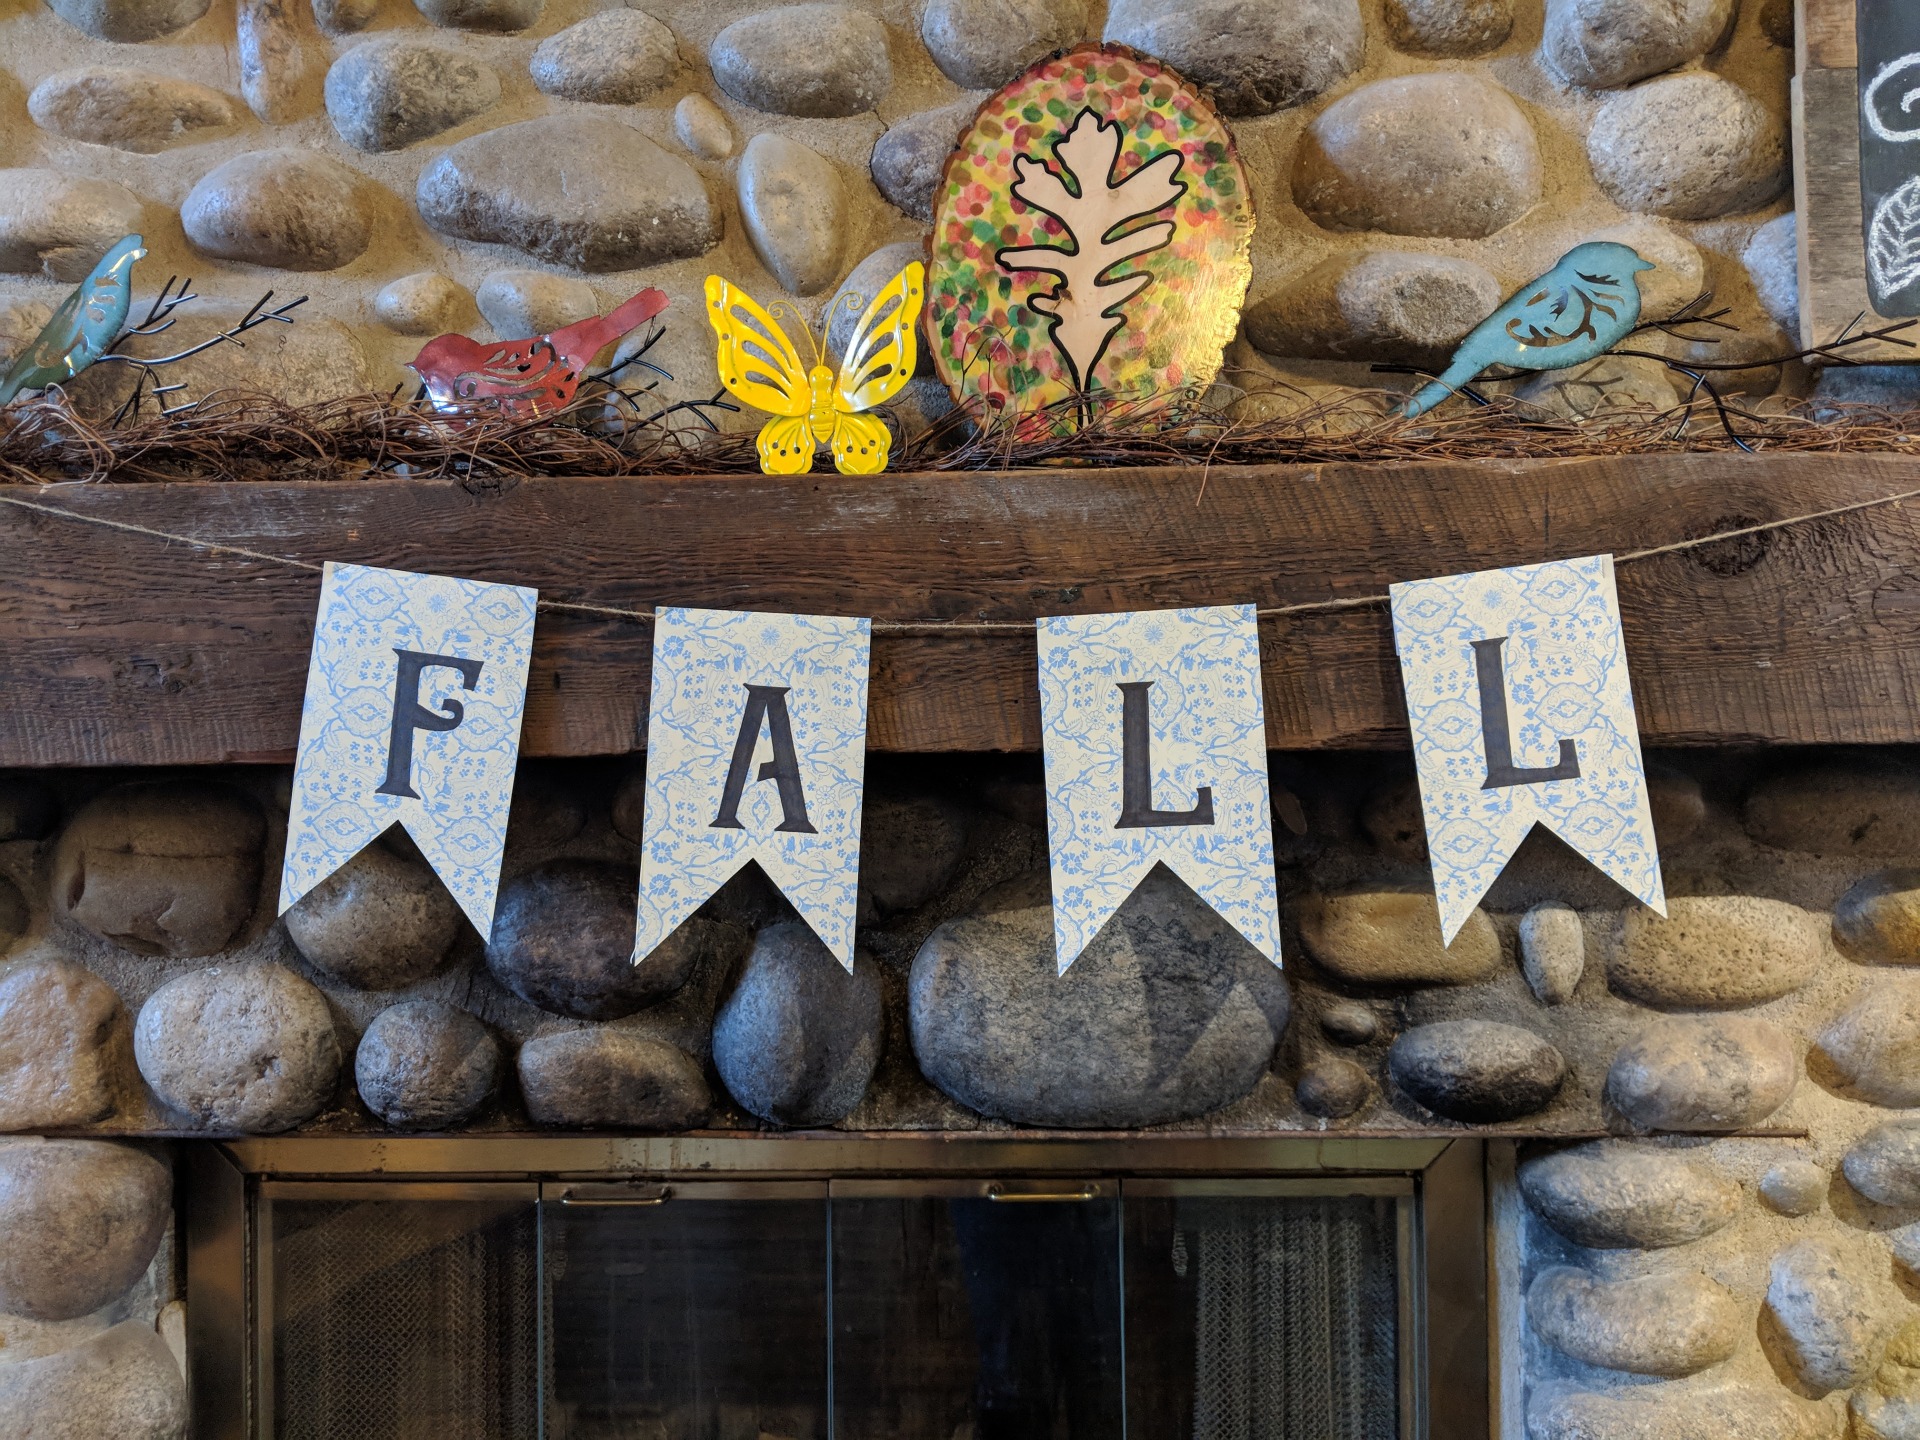
Voila! A quick, low cost, & fun way to spruce up your home decor. Try different papers for different seasons, experiment with more than letters and see what fun combinations you can come up with. The best part of DIY home decor is that it truly reflects you so make that reflection as beautiful as you are.
Have a terrific autumn!

