These popular topics are heating up. Explore today's most viewed pages.
 Looking for ways to make your at home curriculum more interesting? Have we got an idea or two for you! Finding new ways to keep my 2nd grader engaged & interested has been a challenge but the great outdoors has some amazing resources (pun intended) that can be added to any school subject.
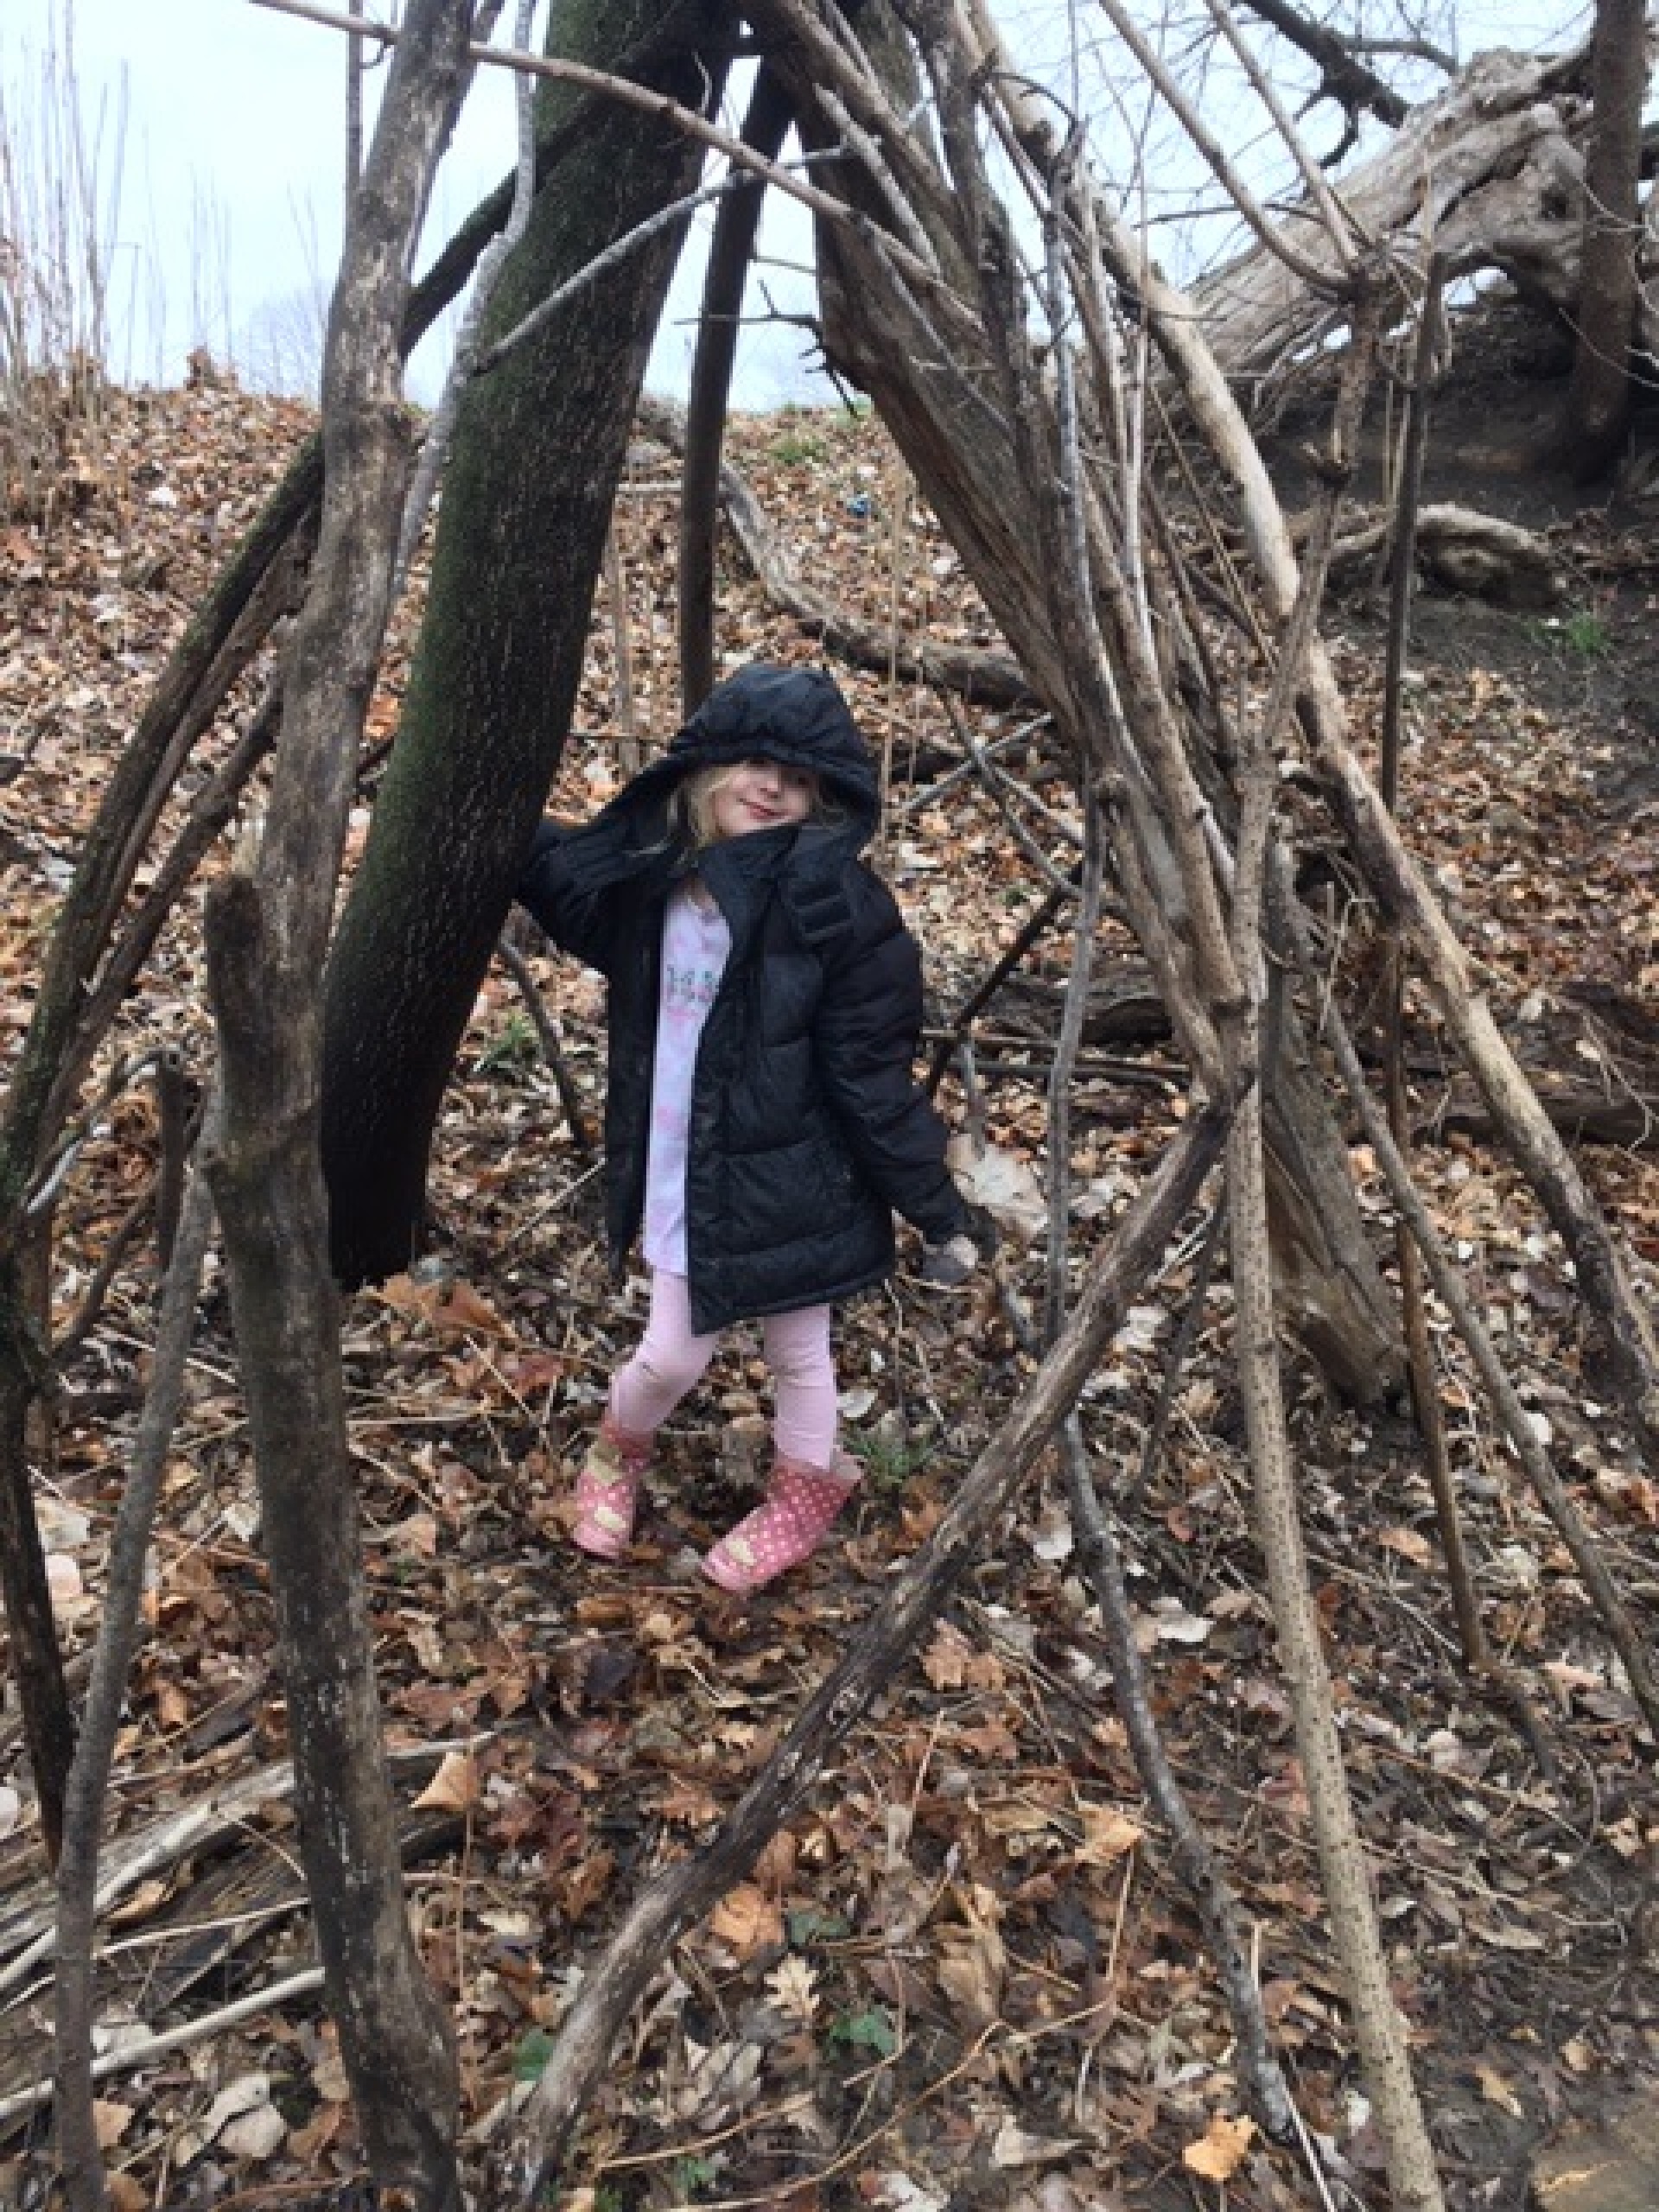
Try combining science, geometry, & engineering & head outdoors for some fort building! Start by collecting branches & describing their properties & appearance. Sort them into piles & try to figure out the best way to combine these materials into a new structure. Experiment with new ways of constructing your supports & your base, play around with different shapes & materials as you build the biggest & best branch fort ever. Don’t be afraid of frustration & let your student take the lead, allow them to lift & carry items & make sure to allow them to make choices you know won’t succeed. Sometimes we learn more from failure than from success.
As you collect materials to design & construct your fort you can use leading questions to guide the lesson. I used the following
Do you spot a tree (or other structure) we can build off of?
Do you notice any forked branches?
What shape or size of branch do you think would be most helpful?
How big should we make the fort? How tall?
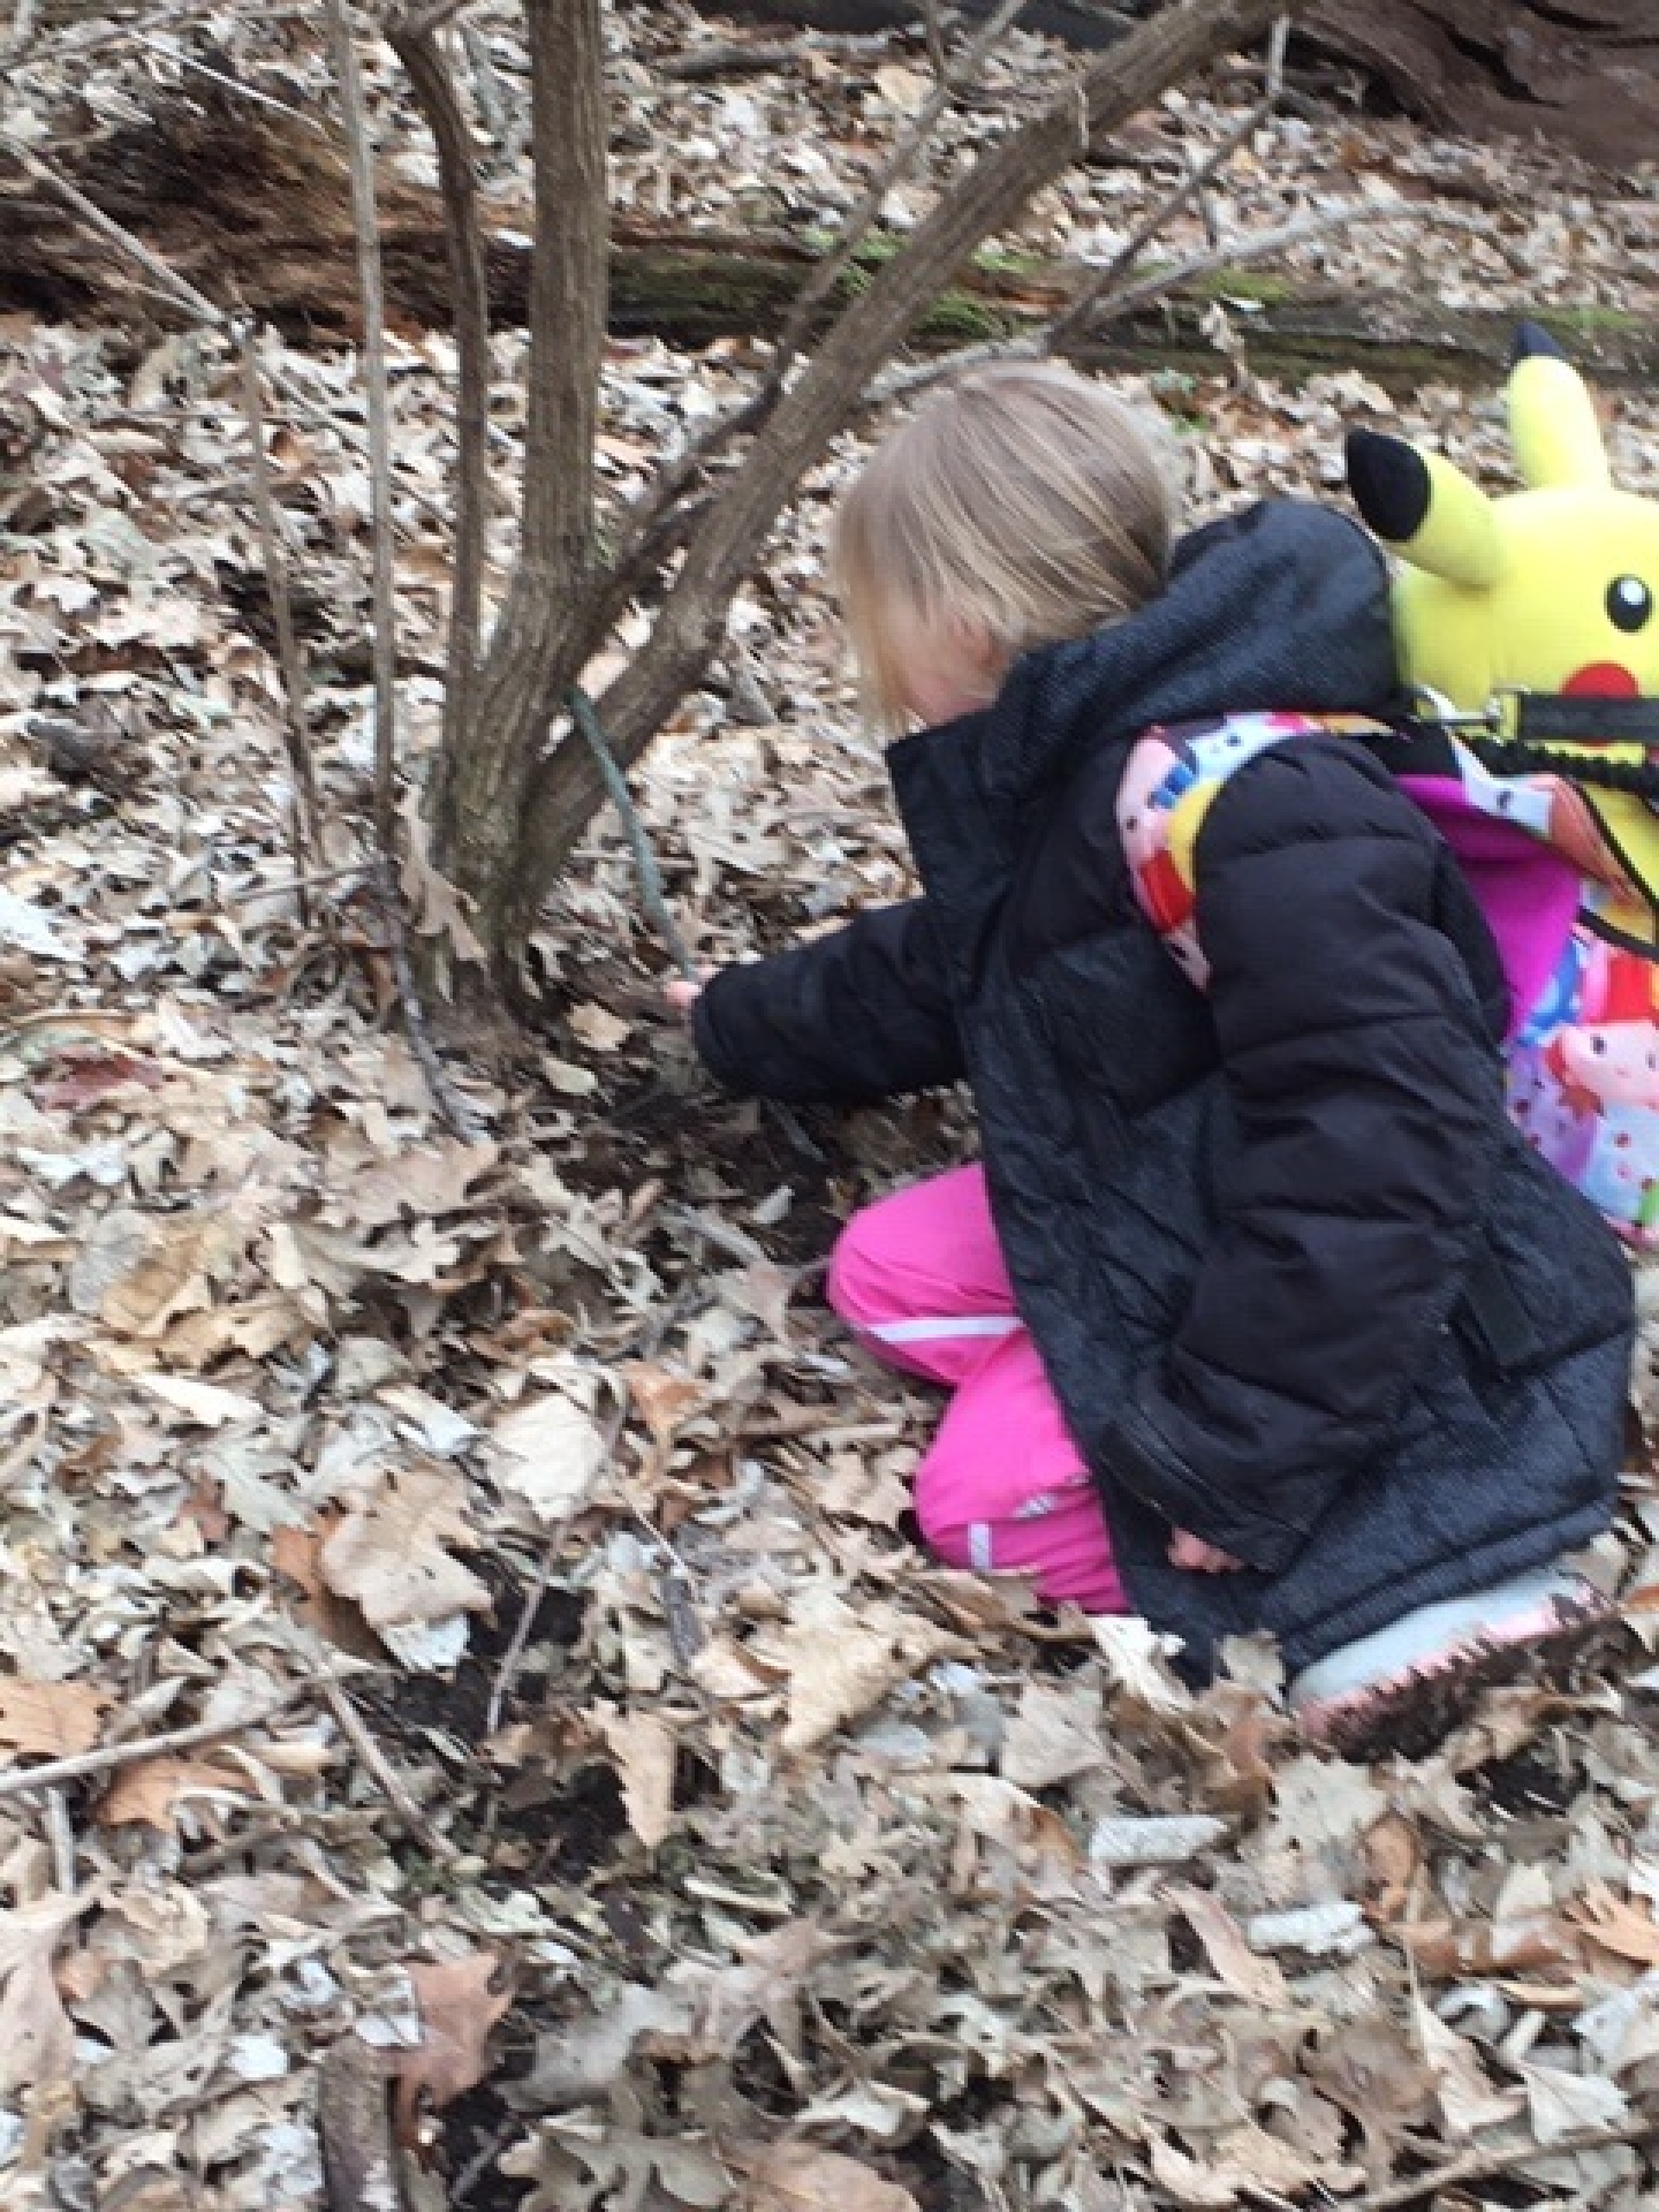
We also took time to discuss the properties of the materials we collected, were the branches flexible or hard, what shapes we were spotting, & the locations where we found our building materials. Once we completed our structure we talked about the process of building it, outlining what worked & what didn’t. We also made estimates of the size & shape of our finished structure & how many branches we used to complete the structure.
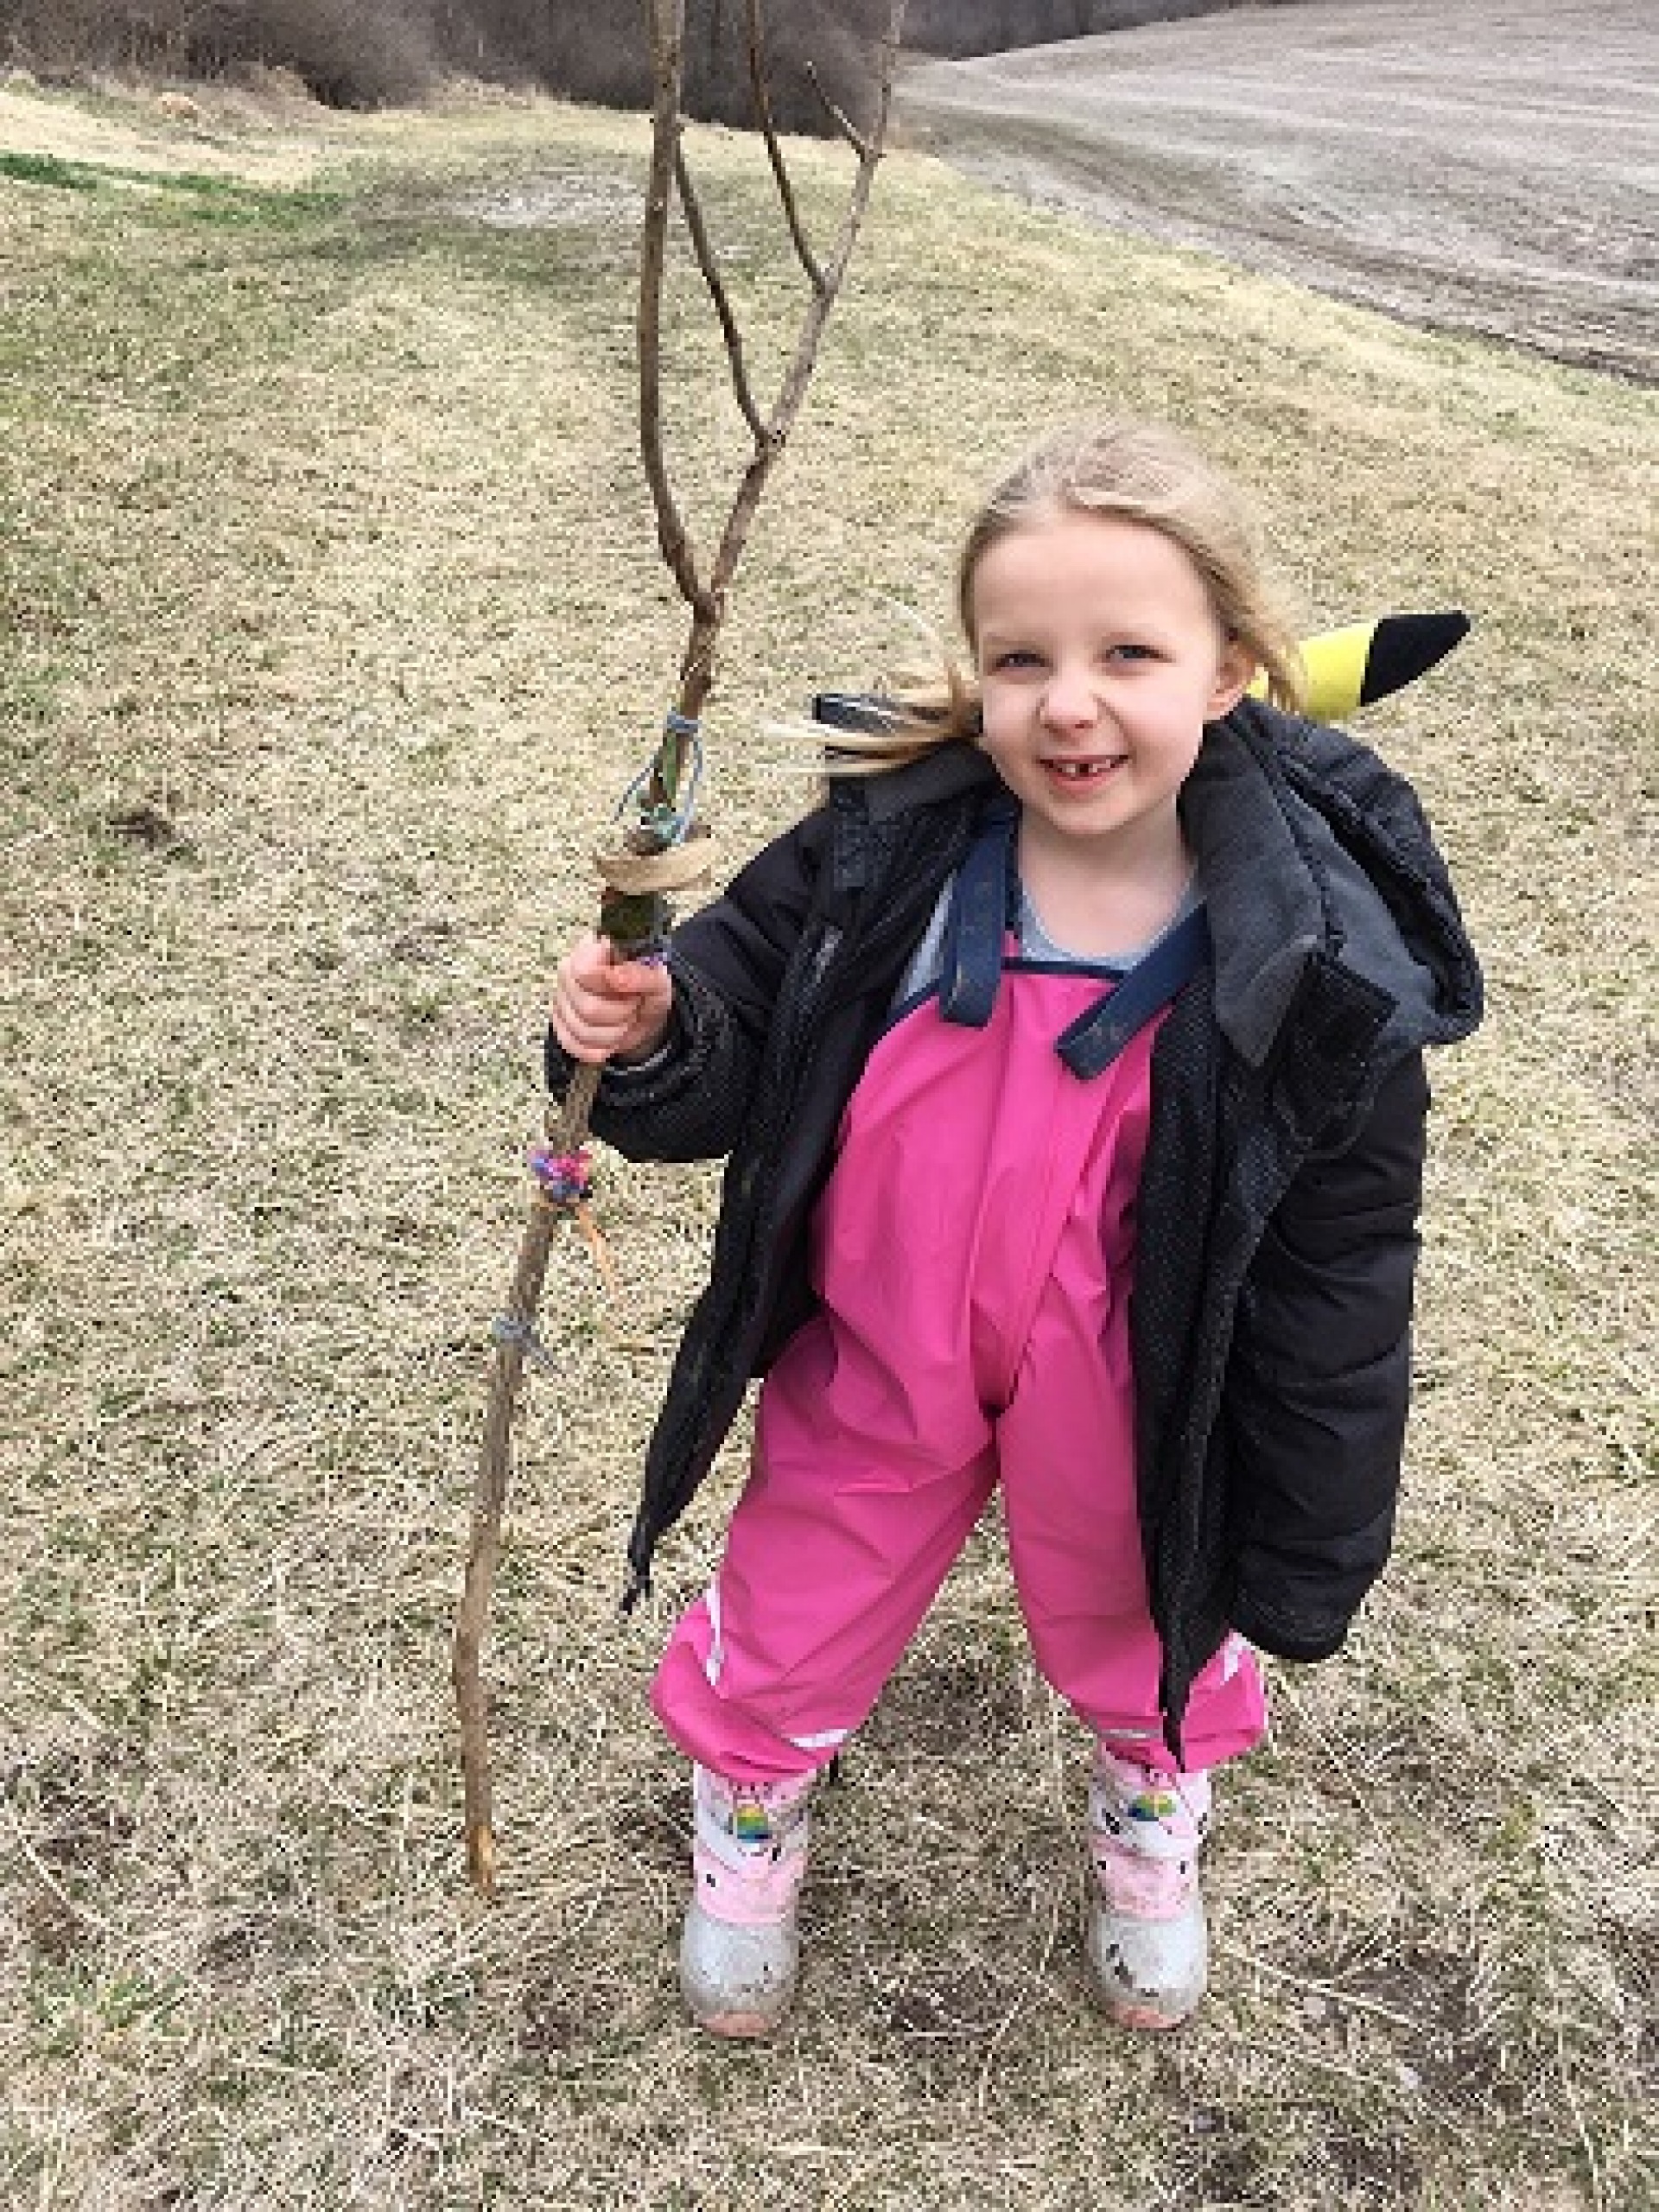 Think literature & language arts have no resources in nature? Think again! We decided to create our own story stick to tell the tale of our adventures. Grab a stick, any size will do but the longer the stick the longer the story, cut some lengths of yarn, string, or twine (6 to 12 inches each) & head out into the the great outdoors of your own backyard. As you travel through your adventure have your child pick up objects (non-living of course) that appeal to them. As your child chooses their objects discuss them – What is it? Describe the object (color, feel, smell, etc.)? Why does it appeal to them? – & then tie the object to your stick using the yarn, continue along your route until you are done with your walk or the stick is full – whatever comes first. Discuss the story stick as a whole, talking through each item to reinforce the choices your child made & their reasoning behind them. Then, challenge your student to make up their own adventure story using the items on their story stick as a frame work. Have your student write, draw, or dictate their story & then you can work together to recite, read, or perform the story when they are done.
This is a great time to go outside! Being outdoors has proven to increase creativity while reducing stress & we can all use a little stress relief right now. Since spring is just getting started temperatures are mild & our annual summer pests (think mosquitoes & ticks) are not very active just yet. Spring does bring rain though so you may encounter some mud as you explore.
 Waterproof boots or shoes are great for keeping dry but if you don’t have any put a bread sack or other plastic bag on your child’s foot over their socks & then put on old shoes over top of the bag. Feet stay dry & you don’t ruin anything but old shoes! You may want to bring spare shoes & socks to change into if your adventure includes traveling away from your own back yard. Rain coats & pants are perfect for spring weather too but if you don’t have them on hand you can always make your own rain poncho! Lay out a big trash can liner on a flat surface & cut a hole in the center of the seam. The hole should be just big enough for your head. Start with a small hole & enlarge it until you get the size just right. You may also want to shorten your poncho for smaller children. The best part of a do-it-yourself poncho is how compact it is, just fold or roll it up & drop it in your bag or pocket until you need it.
I hope this gave you some ideas for fun—but still educational—breaks from learning at home. Get out there and enjoy!

